Table of Contents
Disclaimer: Affiliate links may be used, you can read my full disclosure here.
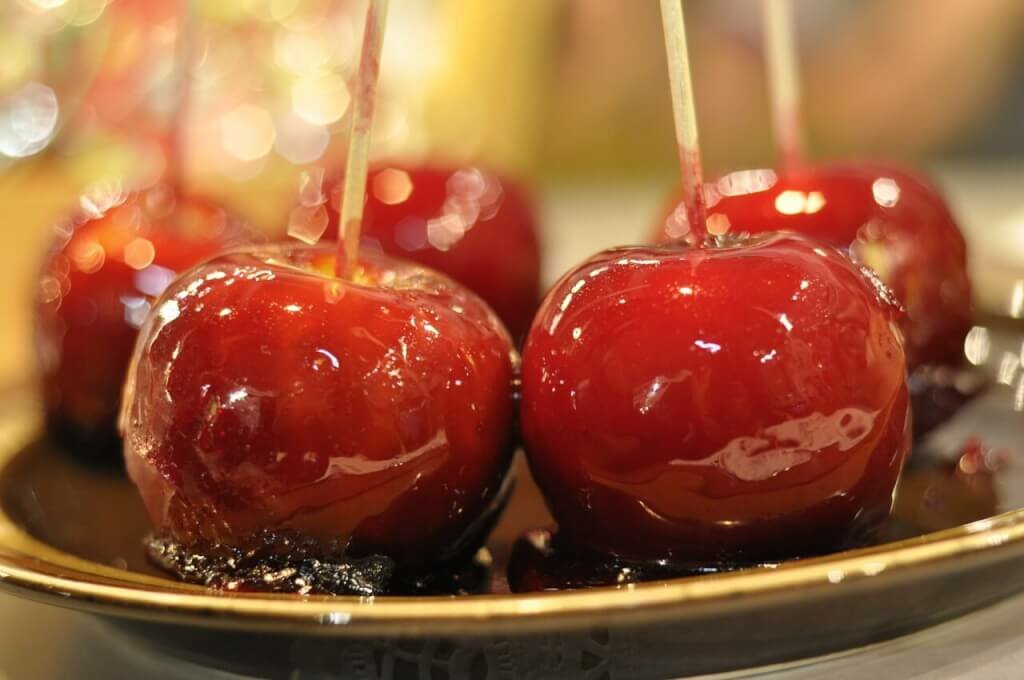
The Secret to a Perfect Candy Apples – Unique Taste Sensation
I love the time leading up to Halloween. There are so many activities to enjoy, parties to attend, hayrides to enjoy, haunted houses to creep your way thru. But the best part is apple picking and creating this taste sensation with fresh apples you come home with.
Candy Apples are by far the sweetest of all fall treats and they are easy to make too. Don’t let this process spook you away. Mix together a few ingredients in your pot over high heat until the right temperature is achieved. I stay close to the stove to check temperatures, but you don’t even need to stir! Once done, dip your apples, set them on the parchment paper to dry, and you are done. Now just enjoy those sweet treats.
Pairing your apples and sweet candy coating

I love pairing the sweet flavor of the candy coating (including caramel coating) with a slightly tart apple. Also, stay away from the softer apples. I like when you take that first bite and the apple is crisp and you can actually hear the magic.
For a thorough list of the varieties of apples, the Washington Apple Commission has an impressive site listing texture, flavor, firmness, and suggestions on the use of each. After a little research, I am going to give you my recommendations for apples based on tartness, firmness, and ability to carry the candy flavor: (I have included some sweet apples as I know that not everyone likes tart apples)
Perfect for Candy Apples
Tart Apples
- Granny Smith: Crunchy and Tart: Tempt your taste buds with tart Granny Smith apples! Known for its delicious tart flavor and pleasing crunch, the Granny Smith apple’s popularity comes as no surprise. What’s more, it’s a go-to apple variety for snacking and is a favorite of pie bakers. Granny Smiths are great in all kinds of recipes, such as salads, sauces, baking, freezing, and more.
- Cripps Pink: Crunchy and Sweet-Tart: Bask in the sweet blush of Cripps Pink! Loved by snackers and bakers alike for its unique sweet-tart flavor and firm, crisp flesh, this beauty of an apple is a crowd pleaser. Named for its bright pink skin, this versatile apple is great for eating fresh out of hand as well as in salads, pies, sauces, baking, and freezing.
- Braeburn: Crisp and Tangy: Bold flavor with a sweet-tart flavor and a hint of sweet spice. Its skin color varies from orange to red over yellow.
Sweet Apples
- Fuji: Crunchy and Super Sweet: Enjoy the full flavor of a Fuji! A crunchy, super-sweet and flavor-forward apple, the Fuji can be enjoyed as an everyday snack as well as in pies, sauces, baking and more.
- Honey Crisp: Crisp and Distinctly Sweet: The Honeycrisp apple’s name says it all! Pleasantly crisp, sweet and juicy, this popular apple features a beautiful bright red skin mottled with pale green. Its complex flavor is subtly tart, and is a versatile ingredient for recipes ranging from sweet to savory. As a snack, Honeycrisp apples burst with juice with every bite, and they are also a delicious addition to salads, pies, sauces, and baked goods.
- Golden Delicious: Crisp and Sweet: The Golden Delicious is a perfect pick for any recipe. Sweet and mellow, this crisp apple has a tender golden skin, and its flesh stays white after slicing for longer than other apple varieties. Reach for a Golden Delicious as an all-purpose apple for snacking, salads, baking, freezing, sauces, and more.
Like I said earlier, if you can get to a local orchard to get your apples, you can bypass the wax coating that you will typically find on the apples at your local grocery store: No worries, the wax coat is easily washed off if you have no choice.
TOOLS YOU WILL NEED FOR THIS CHALLENGE:
- Candy apple skewers
- Candy thermometer – essential for making perfect candy every time – Calibrate the thermometer, it should read 212 degrees Fahrenheit/100 degrees Celsius when the water is boiling. If not, note what temperature it reads and adjust for the difference.
- A pot for candy coating, I try to use a non-stick with handle
- Baking sheet lined with parchment paper. I find this easier than foil, but foil will do.
- Pastry brush and bowl of water to keep near your pot, details later.
- Bowls for your toppings!!!
Once you have chosen the apples you want to use, and have all your supplies ready to go, take your skewers and pierce thru the top of the apple. Allow the apple to sit naturally. If it sits at an angle, place the skewer so that it points straight up, even if it means it is not centered.
TOP TIPS FOR THE BEST RESULTS:
- Remove wax from your apples.
- NOTE: The easiest way to remove the wax coating from the apples: First, dip the apple in hot water for a few seconds to remove the wax. Second, take the apple out from the hot water and wash it again under running tap water. *(Another method is to mix one tablespoon of lemon juice and one tablespoon of baking soda in water.)
- Have your apples at room temperature
- Place the dipped apples on parchment paper.
- Cool the dipped apples in the fridge
- Cool the caramel to 190 degrees before dipping apples
INGREDIENTS TO PREPARE 6 APPLES:
- 1/2 cup light corn syrup
- 2 cup sugar – I use only white sugar, brown sugar tends to burn quicker.
- 3/4 cup water
- Food coloring (opt.) – red is traditional, but any color works! I have seen a lot of photo’s with people making black apples. They actually due look awesome!
- Don’t forget the toppings!!! I love using crushed toffee pieces, chopped nuts (your choice), sprinkles, etc. This is your rodeo, have fun with it.
CREATING THE CANDY COATING
- Line a cookie sheet or tray with wax paper or parchment paper.
- Wash and dry apples and twist off the stems.
- Insert a lollipop stick, popsicle stick, or thick wooden skewer into the top of each apple.
- In a heavy-bottomed saucepan mix together sugar, water, corn syrup, and food coloring. The mixture will be bright red.
- Bring the mixture to a boil. To prevent burning on the sides of the pan, use a wet pastry brush to wipe the sugar granules that collect above the boiling mixture. Do not stir the mixture.
- After mixture is boiling well, simmer for 20 minutes or until it reaches the hard crack stage (about 150 C or 295-310 F). Keep a close eye on it so it doesn’t burn. It is best to check often with a candy thermometer.
- If you don’t have a candy thermometer, you can test for the hard crack stage by dropping a small spoonful of the mixture into a cup of cold water. If it becomes instantly hard (like a piece of hard candy) and cracks when you tap it, it is ready.
- Stir in the food coloring until the color is uniform.
- Remove the pan from the heat. The mixture will be bubbly. It is important to wait until it stops bubbling to dip the apples, or they will be covered with little bubbles (which may be good if you want your apples to look like they are covered in warts for Halloween).
- To dip the apples, carefully tip the pan to one side and insert one side of the apple into the mixture and rotate it until it is covered. Allow it to drain a little and place the apple on the wax paper to cool and harden.
LET’S GET TO DIPPIN’!
- You going to need to work quickly here to coat the apples before the coating hardens!
- Dip your apples by holding the wooden skewer, and submerging it completely in the coating.
- Tilt the pot and swirl the apple to ensure that it is coated.
- If you will be using the additional toppings, dip the apples straight from the candy coating into the toppings. BE CREATIVE HERE!!
- Place the finished apples on the pan lined with parchment paper.
CARAMEL APPLE WEDGES:

- As with the candy apples, make sure your pan is lined with the parchment paper, and insert the skewers into each apple slice.
- Place caramels (I just get the 14 oz bag of Kraft individually wrapped caramels) and a splash of milk (or half and half) in a small pot over medium heat and melt until caramel is smooth. Remove from heat. (Don’t forget you can use the pastry brush and water here)
- Make sure the apples are patted dry with a paper towel before you begin to dip into the caramel.
- After dipping in the caramel, coat with the toppings of your choice and place on your prepared pan.
- Chill slices for about 5-10 minutes.
Sometimes, this sounds like a great idea, but the work just wasn’t in your schedule. You could really take a cheat and enjoy the same delicious caramel apple wedges using the chocolate & caramel apple party.
Whatever way you decide to create your candy apples, the key to the success is just to have fun. Grab the whole family, some friends, and have a great time with it. No matter what you do in life, the challenge to you is to enjoy, smile often, and share your love.
It All Starts with You!
Enjoy!